
Mastering the Art of Breastfeeding: Part 1 - Positioning
Introduction:
Breastfeeding is a beautiful part of motherhood. It nourishes your baby, creates a special bond between you and your little one, and offers a multitude of health benefits for both mother and child. However, for many new mothers, the journey of breastfeeding can be challenging, particularly when it comes to finding the right breastfeeding position. In this blog, we'll explore various breastfeeding positions, the benefits of each, and offer tips to make your breastfeeding experience as comfortable and successful as possible.
Why Is Positioning Important?
Finding a good breastfeeding position plays a significant role in ensuring a successful and comfortable breastfeeding experience for both you and your baby. The right position can help:
Ensure a good latch: A correct latch is essential for efficient milk transfer and avoiding nipple pain or damage.
Promote milk flow: Some positions may facilitate a better milk flow and reduce the risk of clogged ducts.
Enhance comfort: A comfortable position can reduce back, neck, and shoulder strain.
Encourage bonding: The right position can foster a strong emotional connection between you and your baby.
Address specific needs: Different positions can be helpful for different situations, such as breastfeeding twins or a premature baby.
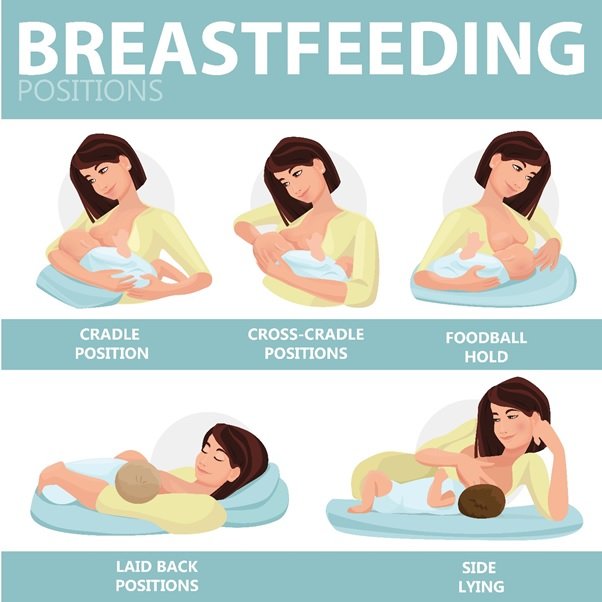
Common Breastfeeding Positions
Cradle Hold:
Sit in a comfortable chair with good back support.
Hold your baby with their head in the crook of your arm, and their body facing yours.
Support your baby's head with your hand, ensuring their mouth is aligned with your nipple.
This position is excellent for bonding and works well with older babies.
Football Hold:
Sit on a chair or use a nursing pillow for support.
Hold your baby under your arm, like a football.
Your baby's head should be supported by your hand, and their body can extend along your side.
This position is great for mothers who had a C-section or those with large breasts, or for mothers of small babies or twins, and allows you to see your baby's latch more easily.
Cross-Cradle Hold:
Similar to the cradle hold, but you use the opposite arm to support your baby's head.
Place your baby's head in your hand, supporting their body with your forearm.
This position provides more control and is excellent for helping with latching issues.
Side-Lying Position:
Lie on your side in bed with a pillow behind your back for support.
Place your baby facing you on their side.
This position is perfect for nighttime feedings, allowing both you and your baby to rest.
Laid-Back or Biological Nurturing:
Lie back in a semi-reclined position and let your baby rest on your chest.
Allow your baby to find the breast themselves.
This position can help initiate breastfeeding and is particularly useful for newborns. It is also helpful to reduce milk flow rate for mothers that have a fast let-down.
Tips for Successful Breastfeeding Positioning
Find a comfortable and supportive chair or use nursing pillows to prevent back and neck strain.
Experiment with different positions to find what works best for you and your baby. Not all positions are suitable for everyone.
Use pillows or cushions to support your arms, back, and baby, as needed.
Stay relaxed and be patient. Learning proper positioning can take time for both you and your baby.

Remember “CHINS”: the key to successful positioning:
No matter what position you choose to breastfeed in, ensure that you follow the below tips to ensure a comfortable and safe position that enables a good latch and efficient milk transfer.
C - Close: ensure your baby is facing you and is held tight towards you
H - Head Free: ensure your baby’s head is free to tilt back when they latch on (support them by hold their neck and shoulders rather than their head)
I - In Line: ensure your baby’s body is in a straight line and they are not twisted (ears, shoulder, hips should be in line)
N - Nipple “Up” the Nose: position your baby so that their nose is in line with your nipple, and ensure your nipple tilts slightly upwards so that it points up their nose
S - Sustainable: ensure that you are comfortable and not in ongoing discomfort, so that you can maintain this position the duration of the breastfeed
Step-by-step positioning guide
(with thanks to BreastfedBabies.org)
Bring your baby close to your body so they don’t need to stretch to reach your breast
Check your baby’s head and body are in a straight line facing the same way
Move your baby’s nose to your nipple so they can reach and get the breast underneath your nipple
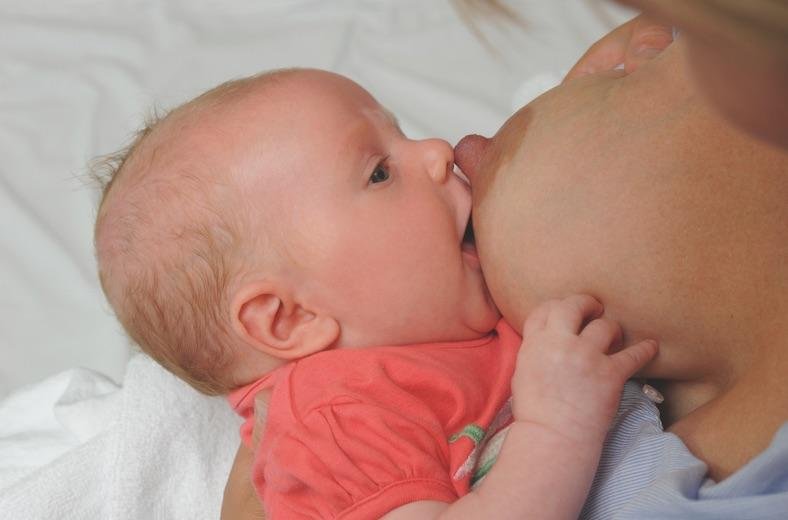
Support your baby’s neck, shoulders and back, making sure their head is free to move
Watch your baby tilt their head back and open their mouth wide
If your baby’s mouth doesn’t open, encourage it by gently rubbing your nipple against their upper lip and moving away until they open wide
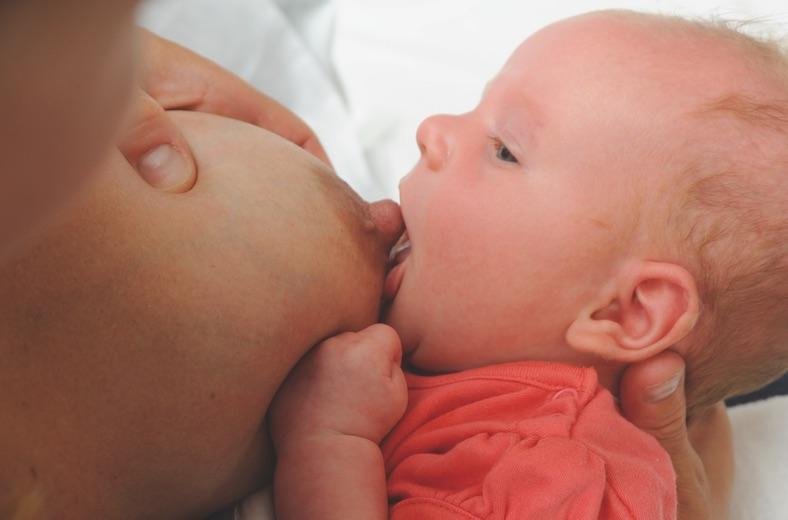
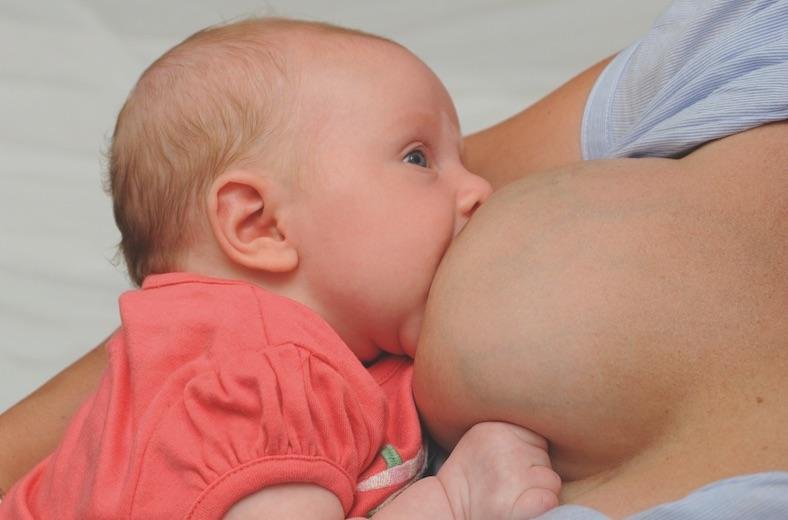
Bring your baby to your breast, and try not to bring your breast to your baby
To latch on correctly, your baby’s tongue and lower lip should make contact with your breast first
Conclusion:
Breastfeeding positioning is an essential aspect of successful nursing. It can make the experience more comfortable, improve the latch, and enhance the bonding between you and your baby. Don't be afraid to try different positions to find what works best for you. Remember that, with time and practice, you'll both become pros at the art of breastfeeding. The most crucial thing is to create a nurturing and loving environment for your baby to thrive.
Further reading and resources:
Positioning and attachment video - UNICEF
Positioning & Latch: Mother-Led Latching - Lactation Education Resources
Positioning & Latch: Baby-Led Latching - Lactation Education Resources
Attachment and Positioning - BreastfedBabies.org